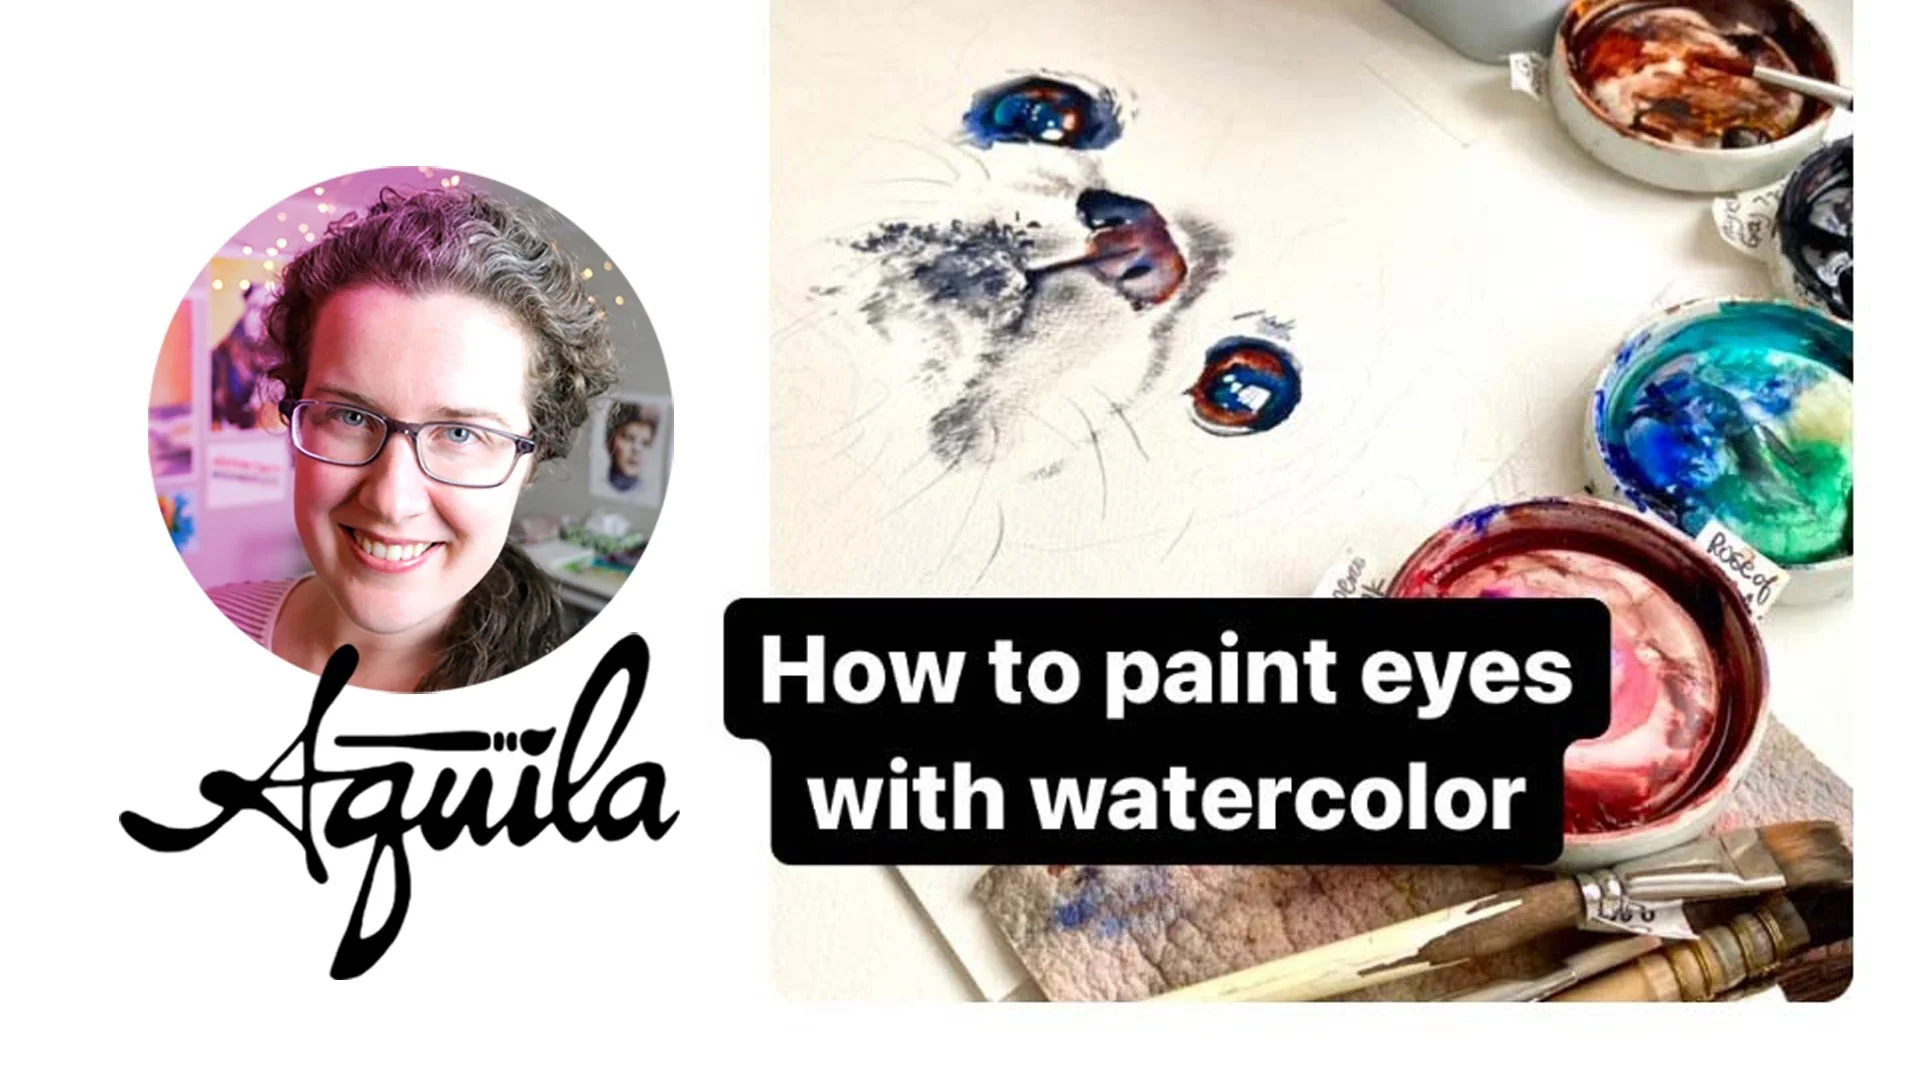
How to paint eyes in watercolor
Note that this tutorial works best for animal eyes, but the same techniques can be used to paint human eyes too!
Watch the quick overview video:
Supplies
Your painting, drawn out
Paint colors for your subject’s eyes - I’m using M Graham in Payne’s Gray, Ultramarine Blue, Quinacridone Rust, and Cobalt Teal. These colors mix well together (Ultramarine Blue is a MUST HAVE color as it typically mixes beautifully with other colors). Quinacridone Rust is beautiful when applied heavy (a lot of paint, a little water) and light (a little paint, a lot of water) which means you can get some gorgeous light gold highlights without using another color of paint. Payne’s gray is essentially black, but it mixes well and dries vibrant, not muted. And you’ll fall in love with Cobalt Teal once you use it. It’s an amazing semi-opaque color that still mixes well with other colors, but you can also use it like gouache.
A few brushes - I like to have at least one super fine point brush for rendering fine detail
Optional: Palette knife for straight line detail in the eye reflections
Steps
Make sure you watch the video (above) to watch me paint, this will help a lot!
Draw out the reflections, the eye lid and fur surrounding the eyes, and the general shapes of color within the eyes. Animal eyes take on all sorts of shapes of color within the eyes, so it won’t look like your typical black circle surrounded by an even outline of color.
Many artists work light to dark, but I prefer working dark to light for eyes, since this will help you get definition and keep you from getting confused about where to put color once it’s time to do that.
Staying clear of the white reflections, paint over all the DARKEST BLACK areas of the eye with just plain water. Before the water dries on your paper, paint these areas with your dark color paint. Let dry.
Do the same with your other colors- painting first with water, then with the paint. If you want certain colors to mix a bit (and you probably do!) add the next color of paint before the one you just finished is dry. Let them mix (what watercolor does best!) and see what fun things can happen. Take a look at what happened here when cobalt teal and ultramarine got together:
Let watercolor be watercolor!
After laying down the cobalt teal, I also added some ultramarine blue in the lower iris area before the cobalt teal was dry and just let the two colors dance together!
After you’ve finished with all the colors:
You can use a smaller brush to lift out areas that are too dark. Load a brush with just a tiny bit of plain water, dab onto a towel so it’s just a little bit wet, then use a scrubbing motion to lift out color and reveal more paper.
Use the same brush to blend/soften areas that might be too sharp.
I like to keep the white reflection edges fairly sharp, but if they look too sharp, just use a brush loaded with just a tiny bit of plain water to soften the edges.
Not all reflections are pure white! I like to add in some reflections that have color in them too, to illustrate how light looks different across the spherical shape of the eye.
You can use a palette knife to create fine details within the white reflections. Reflections often have some detail within them, and the reflection shown below had some window pane detail, which I added in with a palette knife:
Use a palette knife
While the blue areas in the eye were still wet, I took a palette knife and dragged paint into the white reflection in straight lines to create the illusion of window panes.
That’s it! Let’s paint!
Questions? Ideas? - contact me! Lots of my tutorial ideas come straight from other watercolor artists- so please reach out using the contact form here.


